
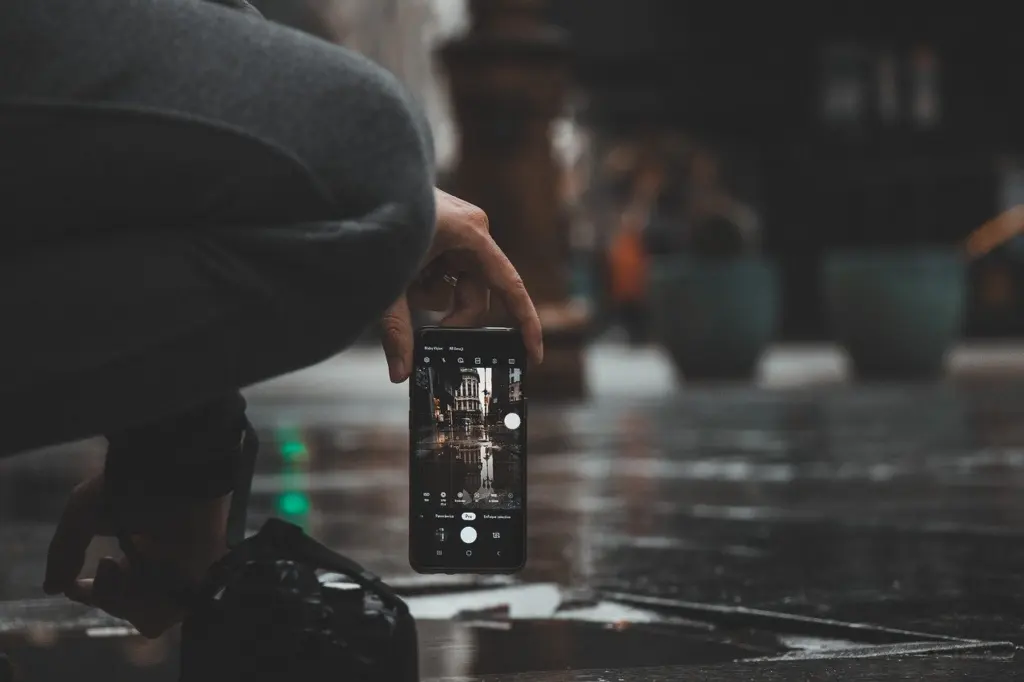
| Reader situation | Technique | What to do on the phone | Planning use |
|---|---|---|---|
| Photographing a person, pet or object | Rule of thirds | Place the subject on one of the intersections of the 3×3 grid, which divides the frame into nine boxes. | Use as the default for subject-led shots, and leave extra room in the top third. |
| Walking a street, bridge, canal or alley | Leading lines | Use roads, bridges, canals, alleys or stairwells to point toward the subject. | Choose when the scene already has strong lines to guide the eye. |
| Shooting through doors, windows or layered scenes | Framing and foreground | Put the subject between elements that are nearer to and farther from the camera. | Adds depth when the scene looks flat. |
| Dealing with a busy background | Negative space | Simplify the frame so the eye knows where to focus. | Helps portraits and product shots most. |
| Shooting food from above, reflections or mirrored architecture | Symmetry and centring | Centre the subject deliberately and keep both sides balanced. | The main exception to thirds placement. |
The glance table draws on the Fairphone community guide to photo composition and an explainer on grid lines and the rule of thirds.
These phone photography composition tips start with the camera grid: switch it on, place your subject on a grid intersection or along a line, and treat the placement as a guide you can break when the scene calls for it.
For the wider set of camera habits that sit around composition, see how to take better photos with your phone.
When you are setting up the camera
Turn on the grid
The camera grid is the aid behind most of the techniques below. Gridlines on the camera screen assist you with rule of thirds placement, as the Senior Tech Club’s guide to the rule of thirds on an iPhone explains. On both iPhone and Android, open the camera settings and look for a switch labelled grid or gridlines. The menu wording and location vary between phone models and software versions, so check the camera section of your settings if the option is not obvious.
The standard thirds grid is a 3×3 layout, which splits the screen into three parts horizontally and three vertically and gives nine boxes, according to the Fairphone community guide. The four points where the lines cross are the intersections you aim for.

Move closer before you zoom
Decide on distance before you place anything on a grid line. Digital Photo Mentor calls getting closer to your subject the biggest thing you can do for better mobile phone photography, and it works better than relying on the built-in zoom. Walking in also forces you to decide what belongs in the frame, which makes every later technique easier to apply.
Photographing a single subject
Rule of thirds placement
The rule of thirds is a placement guideline. You divide the frame into a 3×3 grid and put the main focus of the image on one of the intersections, which draws the viewer’s attention to it. It suits portraits, pets, flowers and single objects because the subject sits clearly off to one side and the rest of the frame supports it.
Use the grid to nudge the subject rather than to measure it exactly. A small shift of the phone is enough to move a flower or a face from the middle of the screen to a crossing point.
When to break the rule
The Fairphone guide is blunt that none of these rules are set in stone. Centring is not forbidden, but it has a predictable effect: when you position the main subject in the centre of the photo it becomes static, as the grid-line explainer puts it. The Senior Tech Club advises against centring as a general habit.
Break the rule when stillness is the point. Photographing a plate of food from above is one example given in the explainer, and mirror reflections are another. In those pictures a centred subject and balanced sides read as deliberate rather than careless. If you are unsure, take a thirds version and a centred version and compare them on the screen.
Negative space and a clean background
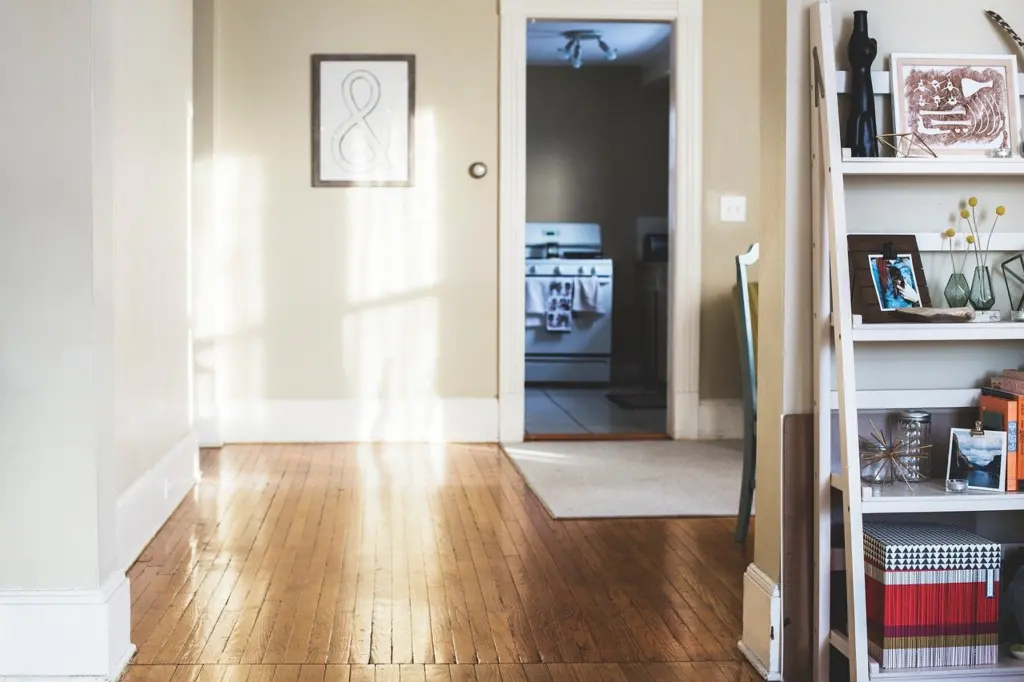
Negative space is the empty or quiet area around a subject. It matters because a busy frame leaves the eye with nowhere to settle: if the image is too busy, our eyes will not know where to focus. For portraits and product shots, simplify the background or step sideways until clutter drops out of the frame.
When the subject sits on a thirds line, try to leave some extra space in the top third of the image. That gives the subject breathing room and stops it feeling squeezed against the edge.
Streets, roads and paths
Leading lines
Leading lines are lines in your surroundings that you can use to draw the viewer’s eyes toward your subject. Bridges, canals, roads, alleys and even stairwells all work. Artifact Uprising suggests looking for lines, literal or figurative, that provide a sense of movement and direction to an image.
The improvement is practical. Leading lines help draw the viewer into an image and encourage their eyes to travel across it, so a picture of a plain road feels like a route rather than a flat surface. Turn the grid on and run the main line along a gridline or let it end at an intersection where your subject stands.

This stock photo is an illustration of the principle rather than a phone shot. Any converging lines work the same way, so try rails, railings, fences or a row of lamp posts.
Doors, windows and layered scenes
Natural framing
Framing means using objects in the scene to surround the subject. A doorway, a window or an arch isolates the subject and signals where to look. Stand back far enough that the opening is visible on all sides, then use the grid to keep the frame level and place the subject within it.
Foreground elements for depth
Foreground and background layers make a flat picture feel three-dimensional. The Fairphone guide recommends including elements in your foreground, which gives photos depth and makes them pop. It also suggests placing subjects between elements that are closer to and farther from the camera. A leaf, a railing or the edge of a doorway in the near part of the frame often does the job.
Symmetrical scenes
Centred and balanced
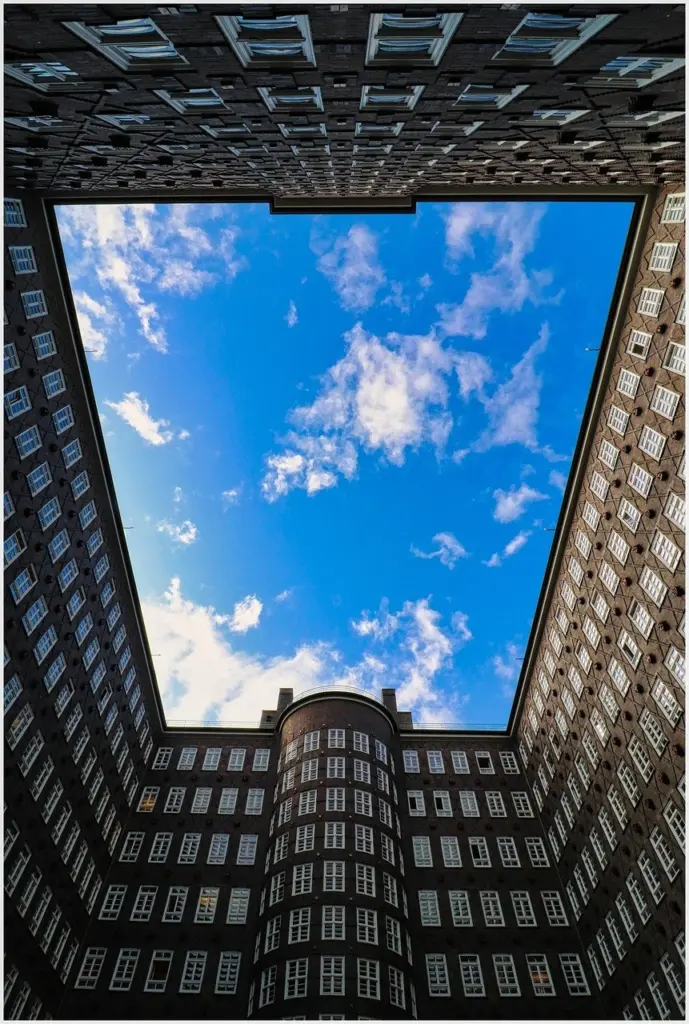
Symmetry is the one situation where a centred composition is usually the right call. If you frame things perfectly centred and symmetrical, the result has a distinct aesthetic. Courtyards, corridors, staircases and mirrored reflections suit this treatment. Use the central gridline as a check that both sides match, and keep the phone level so the symmetry does not look accidental.
Choosing what to practise next
You do not need every technique in every picture. Pick the one that matches what you are looking at.
- A subject with a plain background: use thirds placement and leave room in the top third.
- A scene with strong lines: use leading lines and decide where they end.
- An opening or layered scene: use framing and a foreground element.
- A mirrored or top-down scene: centre the subject on purpose.
Composition works alongside the rest of your technique. A steady grip protects the framing you have set up, and how to hold phone for sharp photos covers that side. Light shapes the mood of the same scene, which is the focus of natural light phone photography.
Frequently asked questions
| Question | Answer |
|---|---|
| Will grid lines show up in my saved photo? | No. Grids or gridlines are an on-screen aid and do not appear on the photo. |
| Does composition matter more than camera quality? | The guidance supplied here points toward technique over equipment: it is not the tool that matters, it is how you use it. Digital Photo Mentor adds that the best camera is the one you have with you, so use the phone in your pocket to its full potential. |
| What height should I shoot a portrait from? | Try to get at eye level, or slightly below your subject’s eye level. |