
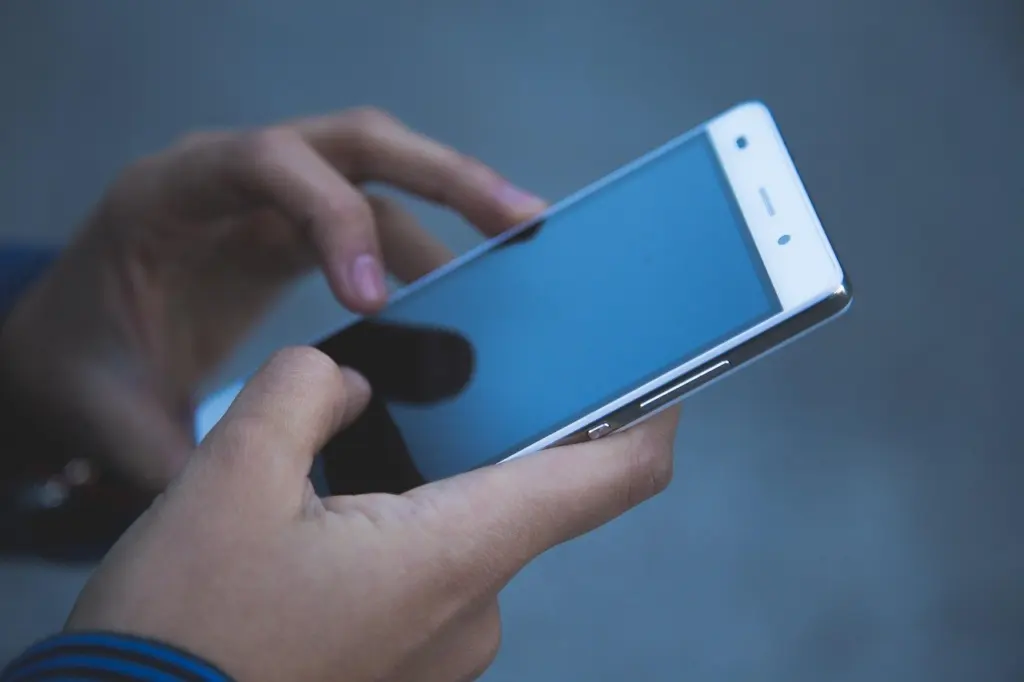
To learn how to hold phone for sharp photos, use both hands, press your elbows against your body and release the shutter without tapping the screen. Brace the phone on something solid when light is low.
Posture and release come before any setting, so you can practise them today. They are one part of the wider set of habits in our guide on how to take better photos with your phone.
What you need before you start
This routine needs no extra gear, only a few habits you set up before the phone comes up to eye level. The result is a repeatable hold that you can run quickly, whatever you are photographing.
- A phone with the camera app open. Smartphone cameras have no viewfinder, so you compose on the screen, as Kevin Ames Photography points out. The screen is also where the temptation to tap comes from.
- A stance you can hold. Elbows pressed against your body form the base of the whole method, so stand or sit where you can keep them there.
- A release plan. Decide before you raise the phone whether you will use the volume button or a remote instead of touching the screen.
- Something to lean on, if available. A wall, a bench or a backpack can all serve as a makeshift support, according to MOJOGEAR’s sharpness tips.
- A mini tripod, optional. The same guide describes mini tripods as small, light and easy to carry, which suits a smartphone.
Camera shake is movement of the phone while the picture is being taken. Everything below reduces that movement at its source, which is your body and your finger, rather than trying to repair it afterwards.
Steps for holding a phone steady
Step 1: Tuck your elbows against your body
Hold the phone with both hands and press your elbows against your body. This is the posture advice in the MOJOGEAR guide, and Kevin Ames Photography gives the same direction for cameras: tuck the elbows into your ribs. Arms held out in the air have nothing supporting them, while arms pinned to the torso borrow its stability.
Do this before you frame the shot, not as an afterthought. If you have to lift your elbows to see the screen, move your feet or turn your body until you can see it with your elbows still in.
Step 2: Support the phone from underneath
The standard handholding advice for cameras is to cradle the lens end with your left hand underneath it. The same idea carries over to a phone: let one hand take the weight from below and use the other to steady it and operate the release. A phone gripped only at its edges by loose fingertips has no such support.
Keep your fingertips clear of the camera area while you do this, so your grip never blocks the shot.
Step 3: Brace yourself or the phone
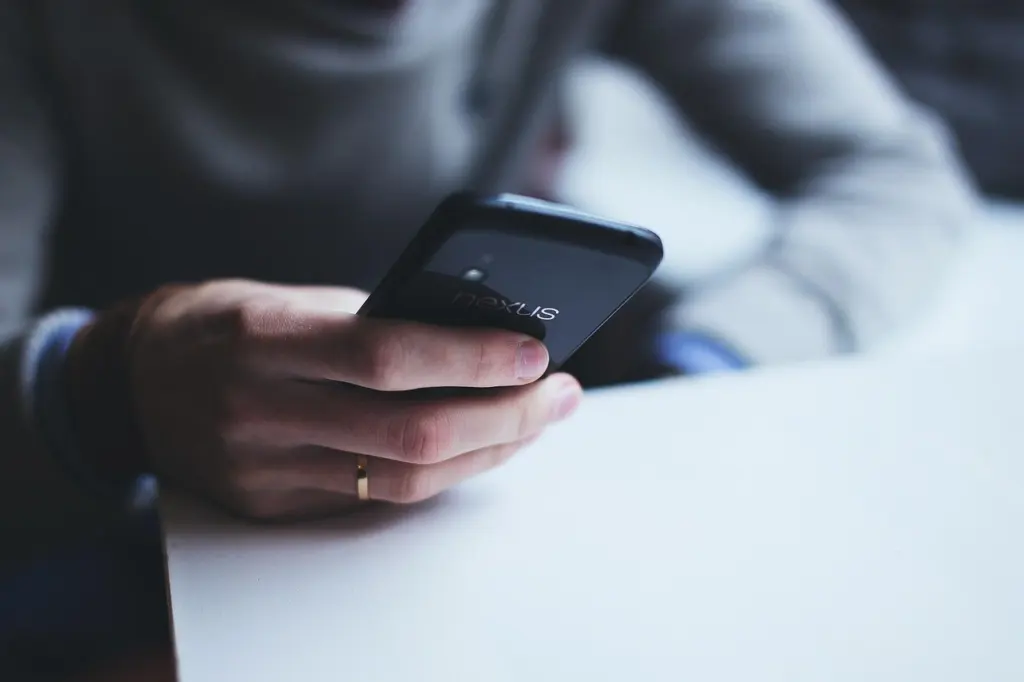
Elbows tucked in is good, and a fixed point is better. Lean a shoulder against a wall, sit at a table, or prop the phone itself on a wall, a bench or even a backpack. MOJOGEAR recommends exactly this when you have no tripod.
The advice matters most when light is dim. The School of Photography suggests stabilising the phone by resting it on a flat surface such as a wall, table or ledge in dark conditions. If a surface is not available, bracing your body against a wall is the next best thing.

Step 4: Release the shutter without touching the screen
Yes, you can use the volume button as a shutter. MOJOGEAR advises using the volume button or a remote control to fire the shutter instead of touching the screen. The on-screen shutter is a big target that invites a firm tap, and that tap moves the whole phone. A side button lets your fingers keep their grip while only a thumb or finger presses.
Open your camera app and press the volume button once to confirm that it takes a picture before you rely on it. A remote is the alternative if you want your hands completely off the phone.
Step 5: Breathe out and squeeze
Press the shutter while exhaling. MOJOGEAR says this keeps your movement smoother. Kevin Ames Photography adds a point about finger action: keep your finger on the release, then squeeze until the camera takes the picture. Stabbing at the button does the opposite.
Put together, the release sequence is: settle, breathe out, squeeze, and hold still for a moment afterwards.
Step 6: Treat stabilisation as a helper
Optical image stabilization, where your phone has it, is built-in stabilisation that works alongside your own technique. The Texas Parks and Wildlife magazine describes steady results as coming from automatic settings combined with built-in image stabilization, fast shutter speeds and tripods. Stabilisation is one part of that list, not a replacement for the rest.
Why photos stay blurry after you tap to focus
Tap to focus is useful. According to The School of Photography, most phones allow it, and many also let you drag the exposure up or down after tapping. Using these controls is not the problem.
The problem is that every tap is also a small push on the phone. MOJOGEAR notes that this little tap can cause just enough movement to blur your photo, and Kevin Ames Photography makes the same point about the big on-screen shutter button. If your pictures look soft even though the subject is clearly in focus on screen, the movement caused by your own touch is the first thing to rule out.
The fix is to separate the jobs. Tap to focus and adjust exposure first, let the phone settle, and then fire the shutter with the volume button or a remote rather than a second tap. Once the phone is steady, phone photography composition tips help you decide what the frame should include.
Low light and when to add support
In dim conditions, hand steadiness matters most, and extra support is the safest answer. MOJOGEAR’s advice for low light is to use a tripod instead of raising the ISO. A mini tripod suits a phone, and a wall, bench or backpack does the same job when you have nothing with you.
Choose support over a handheld attempt whenever the scene is dark and the subject is not moving. If the subject is moving, support will not freeze it, so a quicker shutter speed is the issue, covered in the FAQ below. If you are shooting front-camera pictures, how to take better selfies applies the same steady habits to that case.
Checkpoints before you press the shutter
| Checkpoint | What to check | Planning use |
|---|---|---|
| Stance | Both hands on the phone, elbows pressed against your body | Fix this first; everything else builds on it |
| Support | One hand under the phone, the other steadying it | Use it when no surface is nearby |
| Brace | Phone or body resting on a wall, bench or backpack | Prefer it in dim light or when you have no tripod |
| Release | Volume button or remote, not the on-screen button | Choose it for every shot, especially after tap to focus |
| Breath and finger | Exhale and squeeze rather than stab | Build it into the last moment before the shutter fires |
These checkpoints draw on the posture and release guidance from MOJOGEAR and the handholding technique at Kevin Ames Photography.
Frequently asked questions
How do I stay steady with one hand?
Tuck your elbow into your side so your arm is supported by your torso, and give the phone a fixed point whenever you can. A wall, a bench or a backpack can hold it while your free hand does nothing but press the release.
Does image stabilization remove the need for a steady grip?
No. Built-in image stabilization is described as one element alongside fast shutter speeds and tripods, not a substitute for steady handling. Hold the phone as above and let stabilisation support that effort.
Will a faster shutter speed cure camera shake?
It reduces the effect but does not remove it. Kevin Ames Photography notes that high shutter speeds minimise the effect of camera movement without eliminating it. MOJOGEAR suggests 1/500 second or faster for action or sports photos.
Do I need a tripod?
Not always. A tripod is the better choice in low light, and a wall, bench or backpack is a workable substitute. A mini tripod is the lightest option to carry.