How to take better selfies: hold the phone slightly above eye level, use soft daylight, look at the lens rather than the screen, and keep some distance. Use a wide view or timer only for groups.
This list is not a ranking. The items run in the order you decide them when you raise the phone: height, light, distance, camera, then group, mirror and shutter choices. If you want the wider basics first, start with how to take better photos with your phone.
Angle and arm-length framing
Camera height has the biggest effect on how a face reads, and it costs nothing to change. The selfie differs from other portraits because your arm sets the limits, so the choices below work within that reach.
Start slightly above eye level
One travel-photography guide suggests angling the phone from slightly above eye level for a better jaw line. A photo-printing guide gives a similar rule: hold the phone so its bottom edge is level with your eyes. Either version gives a gentle downward tilt, so try both and keep the one that suits your face.

Add a small head turn. The same travel guide says to turn your head on a slight angle with your forehead slightly toward the lens. That gives the face more shape than a flat, square-on pose.
Look at the lens, not yourself
The guide’s advice is to look at the lens of the camera. Watching your own image on the screen sends your eyes slightly off-target, so frame the shot first, then move your eyes to the lens just before you shoot.
Work within your arm
A photography studio’s write-up notes that a hand-held, front-facing camera limits you to the length of your arm. Plan your framing around that reach, and keep the arm steady. A firm grip matters too, and how to hold phone for sharp photos covers it.
Natural light
Natural light is the most flattering and the most forgiving light for a phone selfie. A photo-printing guide says big windows and the great outdoors are your best friends for selfie lighting.
- Indoors: stand beside a window, never in front of it, according to the same travel guide.
- Outdoors: aim for the golden hours, which that guide defines as 1 hour after sunrise and 1 hour before sunset. Choose these times when you can plan the shot; otherwise open shade or a bright window works.
- Why light matters more on a phone: a portrait-photography resource points out that tiny phone sensors need even more light. Dim rooms push the camera toward softer, noisier results.
Distance and the wide-angle front camera
Standing farther away flatters more than almost any other change, and the wide-angle front lens is the main thing working against it. The travel guide’s blunt advice is don’t use the wide-angle lens, as it distorts faces. It also suggests a 1 to 2x crop and standing back if possible.
The studio write-up explains why: it is not about the focal length, it is about the distance from camera to subject. In its comparison, the 17mm shots were taken from about 8 inches away, the 50mm shots from about 4 ft and the 200mm shots from about 10-12 ft. A close, wide selfie therefore exaggerates features, while a more distant, tighter crop looks more natural. Use the zoomed or cropped view for solo shots and save the wide view for groups.
Front or rear camera
Use the front camera when you need to see the frame, and the rear camera when quality matters more. Several non-official sources lean toward the rear camera. A travel guide advises using it when possible as it produces better quality photos. A portrait guide says rear cameras tend to take better images. A photo-printing blog adds that the rear camera is usually much more powerful.
The trade-off is framing. On the back camera you cannot see yourself, so it suits shots where you can check a mirror, use a timer, or ask someone else to press the shutter. On a Samsung phone, open the Camera app, make sure the front camera is active, and swipe or tap the Flip Camera icon to switch.
Group selfies
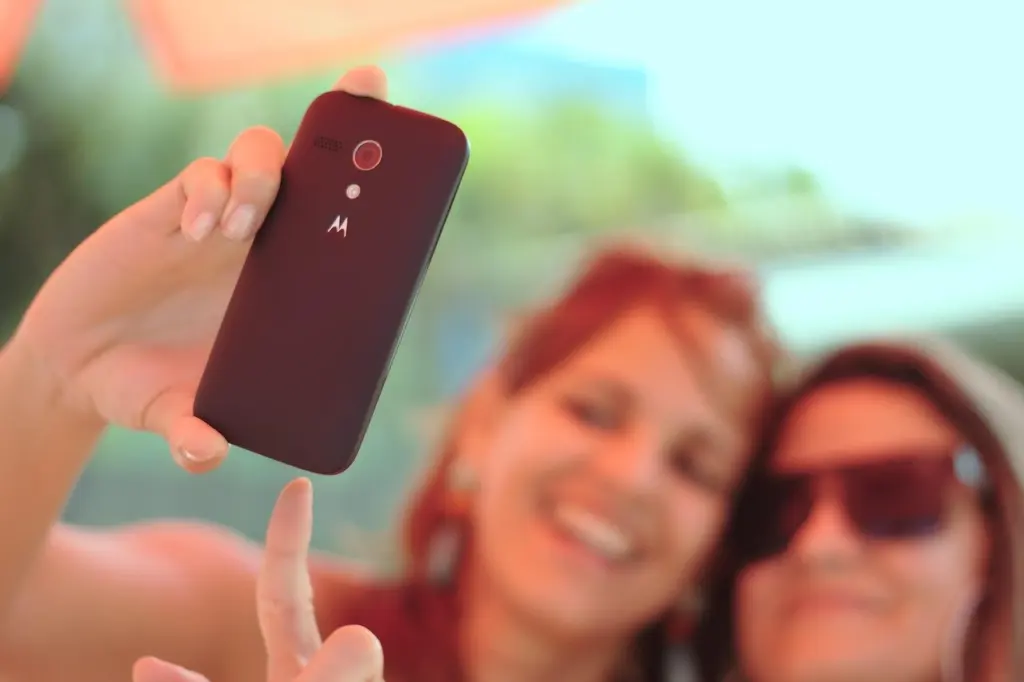
Group selfies fail because arm length limits how far the phone can sit from the group. The answer is a wider view or a timer, and the wide lens that hurts solo portraits helps here.
- Switch to the wide view. Samsung’s support page says you can change the viewing angle from normal to wide by selecting the icons on screen. Go wide only when the group does not otherwise fit, since faces near the edges stretch most.
- Use the palm gesture. On Samsung phones you can show your palm to the screen to take the photo, which saves everyone watching your thumb.
- Move the phone off your arm. A portrait guide suggests a tripod and a timer: set the camera to take a 10 second shot while you get ready. This also lets you use the rear camera.
Mirror selfies
A good mirror selfie depends on what the mirror reflects. A portrait-photography guide singles out the bathroom mirror and the background it brings into the shot, so choose a mirror with a clean, uncluttered reflection behind you.

The other advice on this page carries over. Stand beside a window rather than in front of it so the light is soft, and stand back rather than pressing close to the glass. Because a mirror lets you see yourself, the rear camera becomes a realistic option, and the sources above favour it for quality. A hands-free trigger from the table below avoids reaching for the screen.
Portrait mode and front-camera settings
Portrait mode is worth using for selfies, but keep it gentle. A photo-printing blog notes it was first introduced on iPhone in 2016, and a travel guide advises keeping the blur to moderate. Heavy background blur can look artificial around hair and edges, so lower it if your phone lets you adjust it. Samsung describes its Portrait option as letting you add and adjust background effects for photos.
File format is a separate setting from framing, and heic vs jpeg iphone compares the options if you shoot on iPhone.
Hands-free shutter options compared
Hands-free shutters help most when your thumb moves the phone or the group is too wide for your arm. The options below come from one portrait guide and Samsung’s documentation.
| Option | What it does | Best for | Planning use |
|---|---|---|---|
| Self-timer on a tripod | Takes a 10 second shot while you get ready | Groups and full-length poses | Set it up first, then step into frame |
| Volume keys or voice command (Samsung) | Triggers the shutter without tapping the screen | Solo selfies where the on-screen button is awkward to reach | Enable it in the camera settings |
| Palm gesture (Samsung) | Shows your palm to the screen to take the photo | Group selfies held at arm’s length | Hold your palm to the lens when everyone is ready |
| Floating shutter button (Samsung) | Adds a shutter button you can move around the screen | Single-handed shooting | Place it where your thumb rests |
The timer detail comes from a portrait-photography guide, and the keys, voice, palm and floating-button options from Samsung’s camera support page.
Frequently asked questions
What is the least flattering selfie angle?
A photo-printing blog says pointing the camera up at your chin is always the most unflattering selfie angle. Raise the phone instead of holding it low.
Why does my nose look big in selfies?
A studio write-up explains that anything close to the camera is going to look larger, and your nose is nearest the lens. More distance reduces the effect.
Does Portrait mode work on the front camera?
Yes. A photo-printing blog says you can use Portrait mode on both the front and rear-facing camera.
Will my Samsung phone remember my selfie angle?
Samsung’s settings include a Selfie angle option: tap Selfie angle to use your previous angle again.