
You have a photo and a voice memo and want them to travel together. Photos with sound usually mean either a Live Photo that carries its own audio or a video file built from a still image plus an audio track.
- Shooting a moment on an iPhone: a Live Photo records video and audio around the shutter tap, so the sound is captured with the picture.
- Pairing an existing photo with a recording: build a video file in which the still image stays on screen while the audio plays.
- Sending to someone who only needs a picture: share the still version and leave the sound behind.
If you want a plain-language definition first, start with what are photos with sound. For the mechanics behind the file types, how do photos with audio work goes deeper. The rest of this guide is organised by what you are trying to do, so you can jump to the route that matches your situation.
What counts as a photo with sound
A photo with sound is a still picture that plays audio alongside it, whether the audio was recorded at the moment of the shot or added afterwards. The phrase covers two quite different objects, and knowing which one you have saves a lot of confusion when you come to share it.
The first object is the Live Photo. MacPaw’s guide to Live Photo sound confirms that Live Photos capture both video and sound, so the audio is part of the capture itself. The second object is a purpose-built video, where you choose an image and an audio file and render them together into one file. The browser tool Pi7 describes this approach: it renders an MP4 in which your photo holds for the full length of the audio.
The smartphone camera is the usual starting point for the first object, and a phone’s voice memo recordings are a natural source for the second. A voice memo only becomes usable once it is saved in a format the building tool accepts, which the section on adding audio to an existing photo covers.
Both objects are “photos with sound” in everyday speech, but they behave differently once you try to send, edit or store them. A Live Photo is tied to the camera that made it and can be switched between sound and silence. A built video is an ordinary video file that can be moved around freely. That difference drives most of the decisions in the sections below.
How audio is stored with a still image
Audio does not live inside the picture itself in either documented route; it travels in a video component. Understanding that one point explains why these files are bigger than plain photos and why sharing them needs a little thought.
Live Photos: a still with a short clip behind it
According to MacPaw, an iPhone saves 1.5 seconds of footage and audio before and after you take your shot. That makes a Live Photo a still image backed by a very short piece of video with sound. The same source notes that Live Photos consume more storage than regular still images because they contain both video and audio content, which is the cost of the extra material.
The sound can be controlled afterwards. Apple gives you the option to mute or unmute the sound from a Live Photo directly in the Photos app, so a Live Photo can be silent or audible without being re-shot. You can also export a Live Photo as a video directly from the Photos app, which turns the moving version into a standalone file.
Built MP4 files: one image held for the length of the audio
The built route produces a conventional video. Pi7 states that it outputs a standard MP4 with H.264 video and AAC audio, and that the output audio is always AAC inside the MP4 container. For a single photo, the picture simply stays on screen for as long as the audio runs. Because the result is a normal MP4, it behaves like any other video clip when you move it between apps.
Where JPEG fits
JPEG is the picture side of the pairing, not the sound side. The LEADTOOLS format reference lists JPG as JPEG Compressed among its supported raster image formats, which describes a still picture format. When you build a video, a JPEG is one of the inputs: Pi7 accepts JPG, PNG, WebP, GIF and BMP images. So if your photo is a JPEG from a smartphone camera, it is a valid starting point, and the sound arrives through the audio file you choose.
On the audio side, Pi7 accepts MP3, WAV, M4A, AAC, OGG, FLAC and OPUS files. If you plan to use a voice memo, export or share it in one of those formats before you start. A recording that stays locked in an app is no use to a tool that expects a file.
Capturing sound alongside a picture
The simplest route to a photo with sound is to capture both at once. On an iPhone this is the Live Photo setting in the Camera app, and it needs no extra software. The capture window is short, as MacPaw describes: 1.5 seconds of footage and audio before and after the shot. That suits a laugh, a greeting, a splash or a burst of street noise, but it will not hold a full sentence from a speaker or a long piece of music.
That limit is the main decision point. If the sound you want is brief and happens at the moment of the picture, shoot a Live Photo. If the sound is longer, such as a spoken message, a song or a sustained ambience, record it separately and combine it with the photo afterwards.
Step-by-step instructions differ by phone. iPhone owners can follow how to add sound to a photo on iphone, and the equivalent for Android handsets is covered in how to add sound to a photo on android. If your goal is atmosphere rather than speech, you can learn how to record ambient sound with photos, which treats the surrounding noise of a place as part of the picture.
Adding audio to a photo you already have
Adding audio to an existing photo on a phone means building a video from the image and a sound file, and a browser tool can do that without installing an app. Pi7 runs entirely inside your browser using WebAssembly, so the work happens on the page you have open rather than in a separate download.
The process follows a short path:
- Choose your pictures. Upload images in JPG, PNG, WebP, GIF or BMP format. A single photo gives you a held image; several photos give you a sequence under one soundtrack.
- Add the audio. Pick an MP3, WAV, M4A, AAC, OGG, FLAC or OPUS file. This is where a voice memo, an interview clip or a song comes in.
- Trim the sound. Pi7 lets you trim the song, which matters because a single photo is held for the full length of the audio you leave in.
- Pick the shape and size. The next section explains the choices.
- Render and download. The finished MP4 can then be shared like any other video.
Trimming deserves a moment of thought. Since the still image lasts exactly as long as the audio, a long recording produces a long, unmoving video. For a spoken message, trim away silence at the start and end. For music, choose the passage that fits the mood of the picture rather than running the whole track.
Browser tools are only one option. If you would rather use a dedicated app on your phone, the roundup of the best apps to add sound to photos compares them. Apps that animate faces or add a spoken track to a portrait are collected under talking photo app. If all you want is a spoken caption, how to add a voice note to a photo is a lighter route. For editing and exporting a finished clip, see how to turn a photo and audio into a video.
Choosing between a Live Photo and a built video
Choose a Live Photo when the sound belongs to the moment, and choose a built video when the sound exists separately from the picture. The table sets the documented routes side by side so you can match them to your situation.
| Route | What you end up with | Sound control | Sending as a plain picture | Planning use |
|---|---|---|---|---|
| Live Photo | Still photo with video and audio, 1.5 seconds before and after the shot | Mute or unmute in the Photos app | Turn Live off and the photo is sent as a still without sound | Best for spontaneous moments; costs more storage than a regular still |
| Single photo built into an MP4 | MP4 with H.264 video and AAC audio, photo held for the full audio length | Any accepted audio file, trimmed before rendering | Output is a video, so it is shared as a video | Best when the recording was made separately or is longer than a moment |
| Several photos built into an MP4 | Same MP4 container, up to 20 photos in one video | One audio file runs under the whole video | Output is a video, so it is shared as a video | Best for a short set of related pictures with one voiceover or song |
The Live Photo and sharing details come from MacPaw’s Live Photo guide, and the MP4 details come from Pi7’s documentation.
A few practical reader paths follow from the table.
- You are about to take the picture: switch on Live Photo and shoot. You can still mute it later if the sound turns out to be noise.
- The recording already exists: build an MP4. It is the only documented route here that lets you choose the audio freely.
- You are unsure the recipient can play sound: keep the still version ready alongside the moving one, since a Live Photo can be sent without sound.
- Storage is tight: remember that Live Photos take more room than stills, and decide which moments earn the extra space.
For a head-to-head treatment of the two ideas, live photos vs photos with sound sets out where they overlap and where they part ways.
How a photo with sound differs from a short video
A photo with sound differs from a short video mainly in what moves. A Live Photo is built around a still frame, with a brief clip and its audio attached, while a conventional short video is footage from start to finish. A built MP4 is technically a video, but its picture does not move: the single photo is held while the audio plays.
The overlap is real, and it is why the two blur together. A Live Photo can be exported as a video from the Photos app, at which point it becomes a clip with its original sound if you have left it unmuted. A built MP4 can look identical to a slideshow-style video when several photos are used. The practical test is intent: if you want the viewer to see a picture and hear something about it, treat it as a photo with sound. If you want the viewer to follow motion, shoot video.
Choosing the photo-with-sound form has an advantage in attention. The viewer’s eye settles on one composed image while the audio carries the story, and you avoid the shaky footage that sometimes comes with trying to capture both at once.
Shape, resolution and length for built videos
When you render a video, three settings shape how it looks on the screen where it will be seen: aspect ratio, resolution and length. Pi7 supports three output shapes and tells you to pick the one that matches where you plan to share your video.
- 16:9 landscape: suits widescreen playback and viewing on a computer or television.
- 9:16 portrait: suits a phone held upright, which is how most people browse short vertical feeds.
- 1:1 square: a neutral middle ground that sits comfortably in feeds that crop both ways.
Resolution is the second choice. Landscape output is offered at 720p, up to 1280×720 pixels, and at 1080p, up to 1920×1080 pixels. Pi7 says 720p is the default and that it renders faster and produces a smaller file. Those 1920×1080 and 1280×720 figures are ceilings on output size, not targets you need to hit. For most casual sharing the default is a sound starting choice, and the higher setting makes sense when a larger file is acceptable.
Your source photo matters too. Pi7 advises larger source images, at least 1280 x 720 pixels for landscape 720p, so that the output is not stretched beyond what the original picture contains. If your photo is small, a higher output setting will not add detail that was never captured.
Length is the last decision. For Instagram Stories or TikTok, Pi7 recommends keeping the video under 60 seconds. That is the tool’s own guidance rather than a platform rule, so treat it as a sensible planning figure and check the app you are posting to if you need a hard limit. Trimming the audio is the way to control length, since the photo is held for as long as the sound lasts. Pi7 also states that there is no watermark on the output video, which means the file you download is ready to post as it stands.
Sharing a photo with sound
A photo with sound can be shared as a normal image only by dropping the sound, because the audio lives in the video part of the file. In practice you choose between sending the full experience and sending a silent picture that any app can display.
Sending the still version
For a Live Photo, the switch is simple. Turn the Live toggle off in the share options, and, as MacPaw puts it, your photo will be sent as a still photo without sound. This is the right choice when the recipient needs a clean image for printing, posting in a feed that only displays stills, or storing without the extra weight.
Sending the version with sound
A built MP4 solves the compatibility problem in a different way. Because it is a standard video with H.264 video and AAC audio, Pi7 describes it as ready to share anywhere. Social media sharing then works the way it does for any clip: pick the aspect ratio first, keep the length sensible, and post. Social media sharing of a Live Photo depends on the destination app understanding the format, so when you are unsure, exporting a Live Photo as a video first is a safer way to carry its sound.
The full walkthrough is in how to share photos with sound, and the apps that handle audio natively are gathered under photo sharing apps that support audio.
Chats and messaging apps
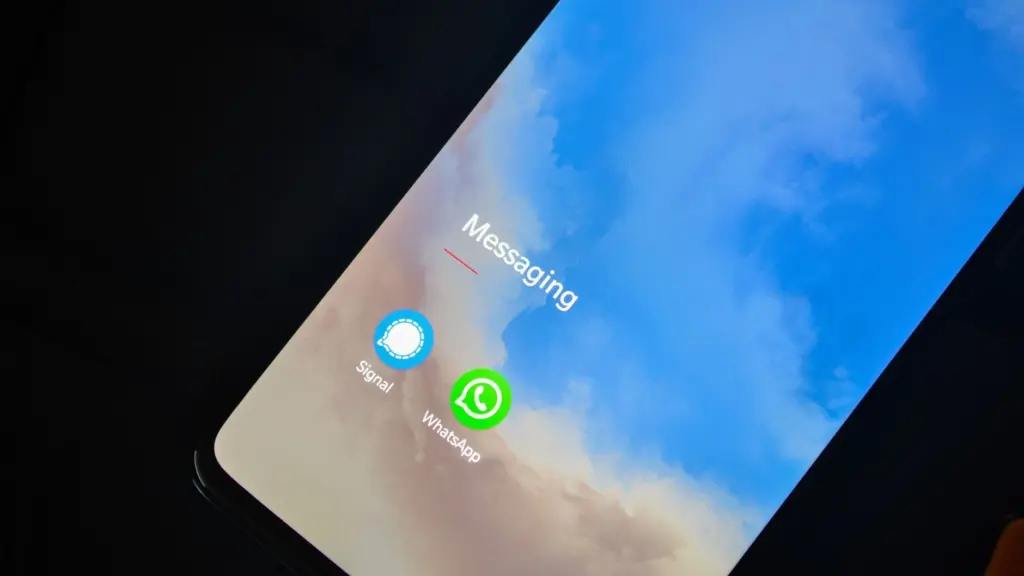
Messaging is where most photos with sound end up, because the audience is already a person you know. A chat can carry a picture plus a voice message, or a short video built from both. If you want to send photo with voice message whatsapp, that guide explains the options. Whichever app you use, the safest habit is to confirm what the recipient actually sees before sending something important.
Listening, keeping and reusing
Photos with sound work best when the listener can hear them properly, and when you keep the original so you can rebuild a version later. The viewing experience is small and personal: one screen, one picture, and sound that is easy to miss if the volume is off or the phone is on silent.
If you are archiving rather than posting, keep a few habits in mind. The Live Photo mute option means that silence in a shared copy does not destroy the original sound. Because Live Photos use more storage than stills, it is worth deciding which ones deserve to stay in that form, and exporting the rest as stills or videos. For built videos, keep the source photo and the audio file as well as the finished MP4, since both are needed if you want to trim or re-render with a different shape.
Memory keeping is the use that most naturally suits the format, because a recorded voice adds something a caption cannot. You can record voices with family photos so that a grandparent’s explanation sits with the picture it describes. Beyond family albums, the format works for travel scenes, performances and notes to yourself, and the ideas collected in creative uses for photos with sound show how far it can stretch.
Frequently asked questions
| Question | Answer |
|---|---|
| What is a photo with sound? | It is a still picture paired with audio. In practice that means either a Live Photo, which captures video and sound with the shot, or an MP4 in which a chosen photo is held while an audio file plays. |
| How do you add audio to a photo on a phone? | Use a browser-based tool such as Pi7 to combine your photo with an audio file such as a voice memo, then download the finished video. Alternatively, shoot a Live Photo so the camera records the sound for you. |
| Can a photo with sound be shared as a normal image? | Yes, but without the sound. Turning off the Live toggle sends a Live Photo as a still photo, and a built video stays a video. |
| What file formats can store a photo and audio together? | A Live Photo stores video and audio with the still image. A built file is an MP4 with H.264 video and AAC audio. A plain JPEG is a still image format and is used as the picture input, not as the sound container. |
| How is a photo with sound different from a short video? | The picture is the focus. A Live Photo is a still with a brief clip behind it, and a built MP4 holds one image while audio plays, whereas an ordinary short video is footage in motion. |