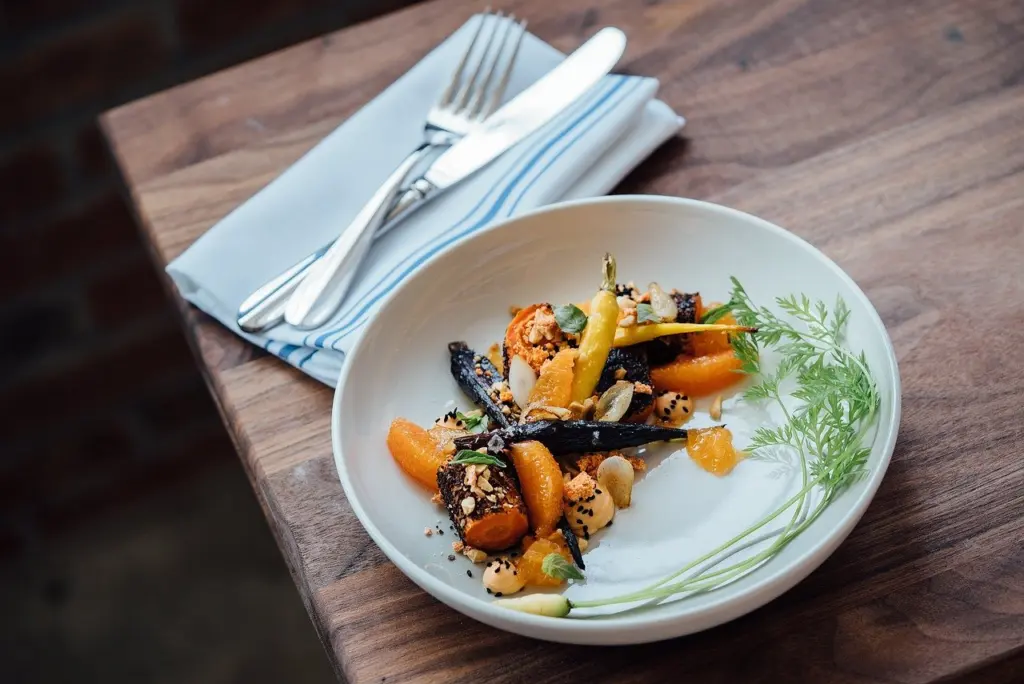
Seated at a restaurant table with a plated dish, the quick answer is these food photography tips with phone: use soft window light, keep the flash off, tap to focus, and match the angle to the dish.
The right choices change with the eating situation, so this list is organised by setting: the restaurant table, the home flat lay and the tall or stacked dish. For camera habits that apply to every subject, see how to take better photos with your phone. Close-up texture shots are covered in how to take macro photos with phone.
Restaurant table: finding usable light
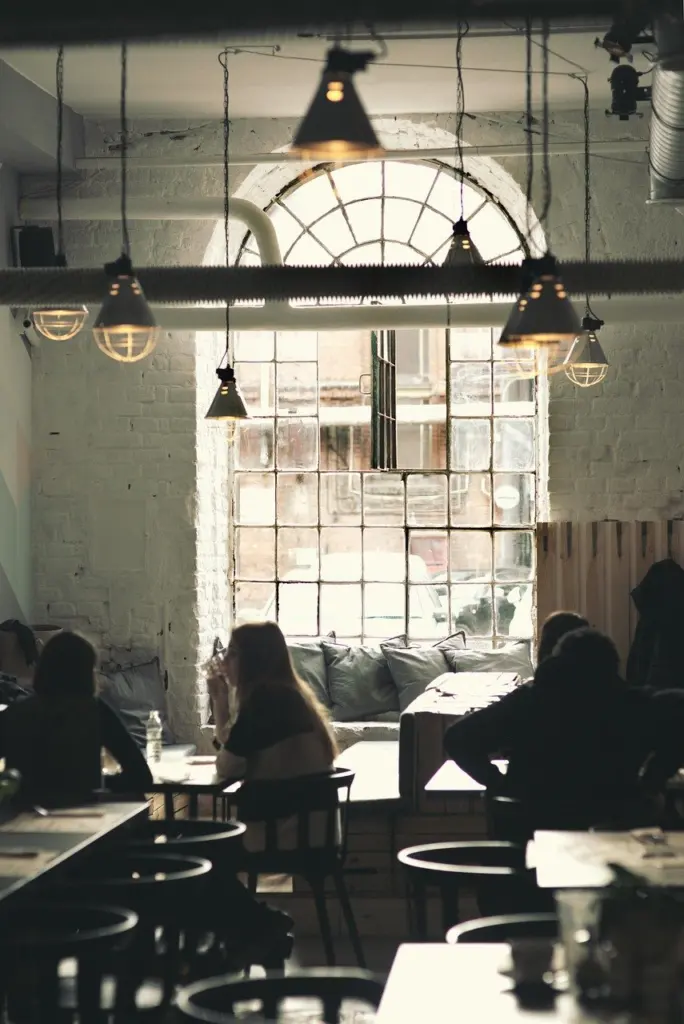
A restaurant shot depends mostly on where the light comes from. Phone food photography guidance from MP Business calls window light ideal because it is soft and diffused, giving depth without harsh shadows. The same guide advises avoiding artificial overhead lights such as fluorescent bulbs and down lights. Most dining rooms are lit that way, so the light over your table is usually the problem.
Choose the seat and the position
If you can choose where to sit, take the seat nearest a window. If not, follow the advice from FSR Magazine and move yourself and your main subject into a naturally lit area. At home you can also switch the overhead lights off. In a restaurant, carrying the plate a short way to a brighter spot is often the only option, and it is worth doing only if the staff and your companions are happy with it.
Leave the flash off
Turn the phone flash off for food shots. AP Food Creations calls flash a big no-no in food photography and recommends natural light for its beautiful shadows. If the room is too dim, step closer to the window or move to a brighter table rather than reaching for the flashlight.
Home flat lay: overhead shots of plated meals
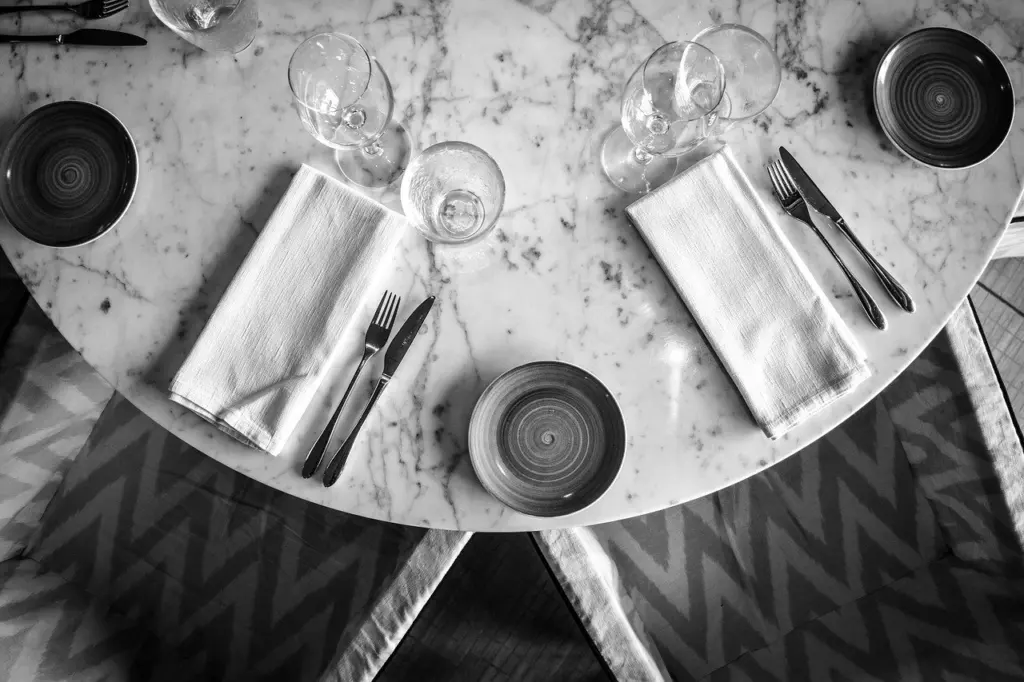
A flat lay is an overhead shot where the phone is parallel to the subject. MP Business notes that flat lays work well for plated meals, and they also suit a whole table of dishes and cutlery. This is the best choice when the appeal is in the arrangement: colours, plates, napkins and garnish.
Keep the phone level
Hold the phone directly above the food and let the screen help. Bento’s iPhone food photography guide says that when the camera points straight down, a yellow and white cross appears on screen. Line it up before you tap the shutter so the plate does not look tilted.
Know when a flat lay fails
Skip the overhead angle for tall items. MP Business warns that flat lays make tall items like glasses look distorted. It also advises against the wide-angle lens for these shots.
Tall and stacked dishes: straight-on and angled shots
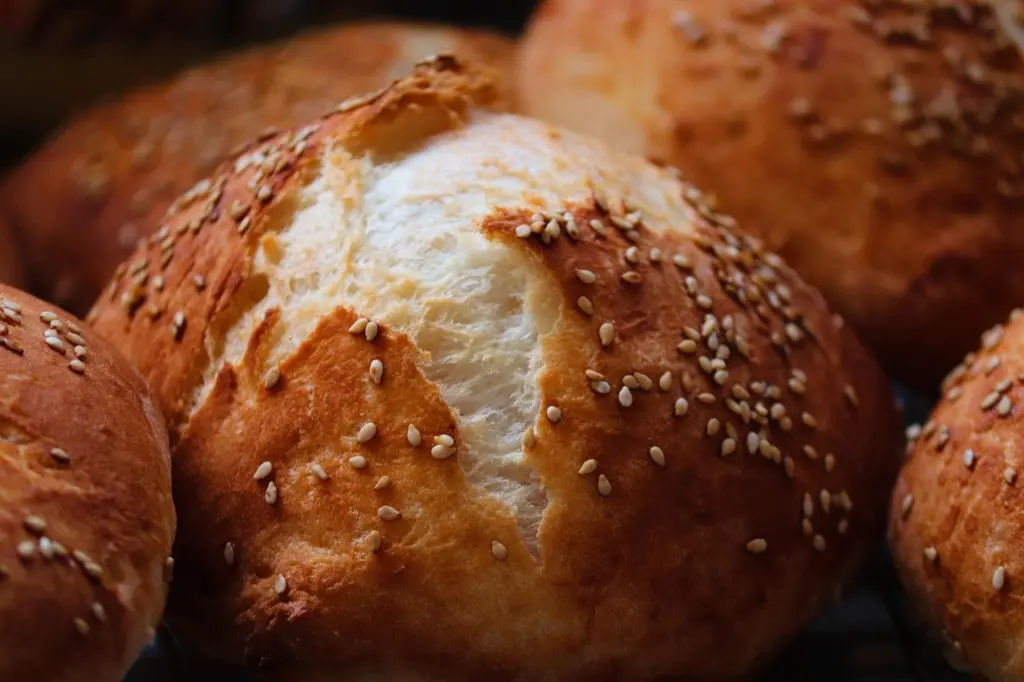
For burgers, layered desserts and tall drinks, drop the overhead angle and go straight on. MP Business says straight-on shots show off layers and detail and are best for tall drinks and stacked dishes. Edible Houston adds that shooting low and straight on captures the best parts of a dish, which also helps with distortion and keeps the phone steady.
Match the angle to the food
Bento’s guide gives a simple rule for the other cases: parallel to the table for sandwiches, top-down for pizza and salad, and a diagonal angle for thick, rounded dishes.
Freeze pouring and moving shots
For a pour, a drizzle or steam, AP Food Creations suggests increasing the shutter speed to avoid motion blur. This needs a manual or Pro mode, covered in the settings section below.
Backgrounds and props
Choose a background that supports the food rather than competing with it. MP Business recommends neutral backgrounds so the food stands out and looks more vibrant, and says the background should not be brighter than the subject. A dark board suits pale food, while a white plate on a light surface suits colourful dishes that should carry the picture. Rustic wood is forgiving when the dish itself is plain.
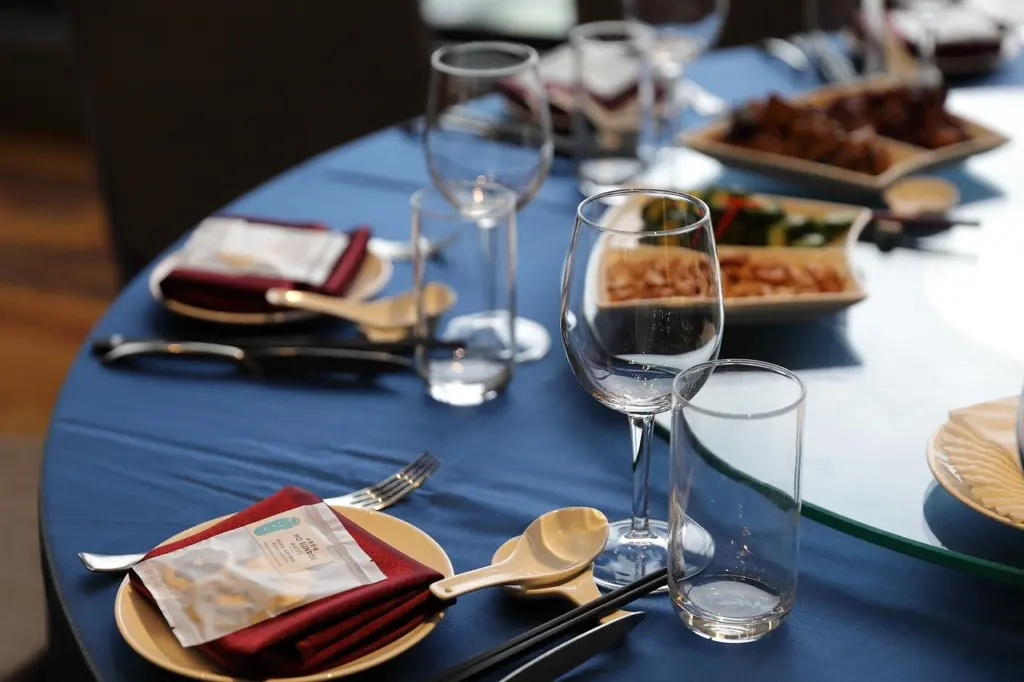
At a restaurant you rarely control the table, so move glasses, menus and spare napkins out of frame instead. At home, choose surfaces ahead of time and give each shot a clear focus.
Settings that fix focus, brightness and colour
The stock camera app covers most of what food needs. These steps match the guidance from the sources above.
Focus and exposure
Tap the screen to tell the camera where to focus, as both MP Business and Edible Houston advise. Then adjust brightness: MP Business describes tapping the screen and dragging the sun icon up or down, and Edible Houston suggests sliding your finger to keep bright areas from overexposing. Watch white plates and sauces in particular, since they lose detail first.
If your phone offers a Pro mode, AP Food Creations says it gives manual control of ISO, shutter speed, focal point and white balance. A histogram or exposure warning, where available, can help you avoid under or overexposing the image.
Why food looks yellow or dull
Colour problems usually come from the light. AP Food Creations notes that white balance can be affected by any external light sources in the area or the weather outside. The overhead artificial lights mentioned earlier are the usual culprit indoors. Moving to window light is the first fix. After shooting, Edible Houston points out that a commonly missed step is checking the colour temperature: adjust the slider in your editor until white areas look white.
A smudged lens can also spoil a photo, so wipe it first. The guide on how to clean phone camera lens covers the method.
Portrait mode and blurred backgrounds
Portrait mode blurs the background, but it is a risky choice for food. FSR Magazine describes it as basically a digital filter guessing what to blur, and says it fails regularly. AP Food Creations warns that it will often blur parts of the main dish that should be sharp, which matters most with glass and clear items. Use it for simple, solid-edged subjects, and check the edges of the plate before you keep the shot.
Situation comparison
| Situation | Best light | Best angle | Background | Planning use |
|---|---|---|---|---|
| Restaurant table | Soft window light; avoid fluorescent bulbs and down lights | Parallel or diagonal, depending on the dish | Clear the table of clutter | Pick your seat or move the plate before choosing an angle |
| Home flat lay | Soft, diffused window light | Overhead, phone parallel to the subject | Neutral, not brighter than the food | Best for plated meals and table spreads |
| Tall or stacked dishes | Soft, diffused window light | Straight on, low, at eye level | Neutral and uncluttered | Use for burgers, layered desserts and tall drinks |
These pairings follow the lighting, angle and background guidance in MP Business’s smartphone food photography guide.
Decision checklist
- Check the light first. Find window light and avoid overhead bulbs.
- Turn the flash off.
- Pick the angle for the dish. Overhead for flat plated meals, straight on for tall food, diagonal for thick rounded dishes.
- Simplify the background. Remove clutter and keep it darker than the food.
- Tap to focus. Then drag the sun icon until bright areas keep their detail.
- Check the colour. If whites look yellow or dull, move to better light or correct the colour temperature when editing.
Frequently asked questions
Should I turn on the grid for food photos?
Yes. MP Business suggests enabling grid lines in Settings > Camera > Grid so you can use the rule of thirds. FSR Magazine adds a rule of thumb to place the subject on only two of the grid intersections.
How many props should I use?
Keep it simple. MP Business recommends 3 to 4 props, which leaves the food as the clear subject.
Do I need a reflector for window light?
Not necessarily, since Edible Houston notes that most people shoot near window light. If shadows are too strong, it suggests white or black foam board as reflectors and a thin curtain as a diffuser.
How do I stop pouring shots from blurring?
Increase the shutter speed, as AP Food Creations advises. That is a manual setting, so use a Pro mode if your camera app has one.