
You have one JPEG and a voice memo or a song, and you want to know how to turn a photo and audio into a video that plays on any phone or feed.
Quick answer: Add the photo and the audio file to a video tool, let the audio decide the length, and export an MP4. In tools such as Clideo, a single image automatically matches the audio length. Pick the aspect ratio for where you will post. This is one way to make photos with sound that travel as ordinary video files.
Start with a browser converter
A browser converter is the simplest route and enough for one photo with one recording. EchoWave’s audio-to-video tool is browser-based, with no account and nothing to install, and it reads the duration and audio automatically on upload. It also says the original audio is preserved at full quality, so a recording is not degraded on the way through.
- Open the tool and upload your JPEG and your audio file.
- Choose the aspect ratio that suits where the video will be posted (the export section below lists the common ones).
- Export as MP4 and wait for the render to finish.
- Play the result from start to finish before you share it.
Clideo follows the same pattern. Its MP3 to video guide tells you to click the Add Audio button and select your MP3 file. This route suits you if you want a plain picture with sound and nothing else. Move to the later sections only if you need layered audio, text, no watermark or a specific platform shape.
Prepare the photo and the audio file
Check that both files are in formats the tool accepts before you upload them. Clideo’s editor supports common formats such as MP4, AVI, MOV, JPG, PNG, MP3 and AAC, so a JPEG photo and an MP3 or AAC recording are safe choices there. EchoWave accepts a wider audio list: MP3, WAV, M4A, AAC, OGG, FLAC, AIFF and AMR.
Image lists differ between tools. ElevenLabs’ image and video tool, for example, lists PNG images, so look at a tool’s image formats before you upload a JPEG to it.
Voice recordings are valid input. Clideo says you can turn songs, voice recordings and other audio into video. If you recorded a voice memo, check that its file type matches the tool’s list, for instance M4A or AAC for EchoWave. A song used as background music goes through the same upload step.
If you have not recorded the voice part yet, the guide on how to add a voice note to a photo covers attaching a spoken note to the picture itself. Once you have an audio file, return here to turn it into a shareable video.
Make the photo last as long as the audio
Let the audio file set the duration instead of typing a length for the photo. Clideo states that if you use only one image, its duration will automatically match the audio length. EchoWave likewise reads the duration from the audio you upload, so a one-photo video needs no manual timing.
In an editor with a timeline, you reach the same result by stretching the photo clip until it ends exactly where the audio ends. If the clip is shorter, the picture disappears before the sound does. If it is longer, the video carries silent footage at the end.
Trim before you export
Clideo lets you upload the MP3 through Add Audio and then trim it or set its timing. Trim a long recording first and the photo length follows the shortened audio. This helps when a voice memo has a pause at the start or a song runs past the part you want.
Using more than one photo
One photo is the case this guide covers, but Clideo offers a Crossfade option for smooth transitions between multiple images. Turn it on if you later add a second or third picture. For a single photo, ignore it.
Expect render time to follow length
EchoWave notes that longer files take longer to render. A static photo is a light job compared with a busy animated waveform, so a still picture is usually the quick option. Keep a long recording trimmed to what you need.
Add music and your voice together
You can combine music and a spoken voice, but a one-step converter that takes a single audio file will not layer them for you. Clideo’s editor supports voice-overs, text overlays and stickers, so a voice-over on top of a music track belongs in the editor rather than in a plain converter.
- Voice only: upload the memo as the single audio file. This is the cleanest option and keeps the recording at full quality in EchoWave.
- Music only: upload the song as the single audio file and let it set the length.
- Music plus voice: use an editor with a voice-over option, and keep the length of the combined audio in mind, because the photo still has to cover all of it.
Decide which one carries the message. If the words matter, choose voice only, or keep any music clearly under the speech.
Choose export settings
Export as MP4 unless a platform asks for something else. EchoWave’s output is MP4 with H.264 video and AAC audio, with MOV, WEBM and MKV as options. Clideo says MP4 and MOV are recommended for most social media platforms, which makes MP4 the safe default. Clideo also gives you four aspect ratio presets to choose from.
| Aspect ratio | Resolution | Typical use | Planning use |
|---|---|---|---|
| 16:9 (landscape) | 1920×1080 pixels | Full YouTube uploads | Pick for a landscape photo shown on a computer or TV screen. |
| 9:16 (vertical) | 1080×1920 pixels | YouTube Shorts | Pick for a portrait photo viewed full-screen on a phone. |
| 1:1 (square) | 1080×1080 pixels | In-feed posts on Instagram and Facebook | Pick when the post sits in a feed and the photo can be cropped evenly. |
These sizes come from EchoWave’s audio-to-video tool, which ties each ratio to the platform use shown above.
Match the ratio to the photo’s own orientation where you can, so little of the picture is cropped or padded. If a tool offers higher quality, ElevenLabs states that its MP4 export goes up to 4K resolution with H.264 or H.265 codecs. For a still photo with a voice recording, the sizes in the table are the practical targets.
When a free tool is not enough
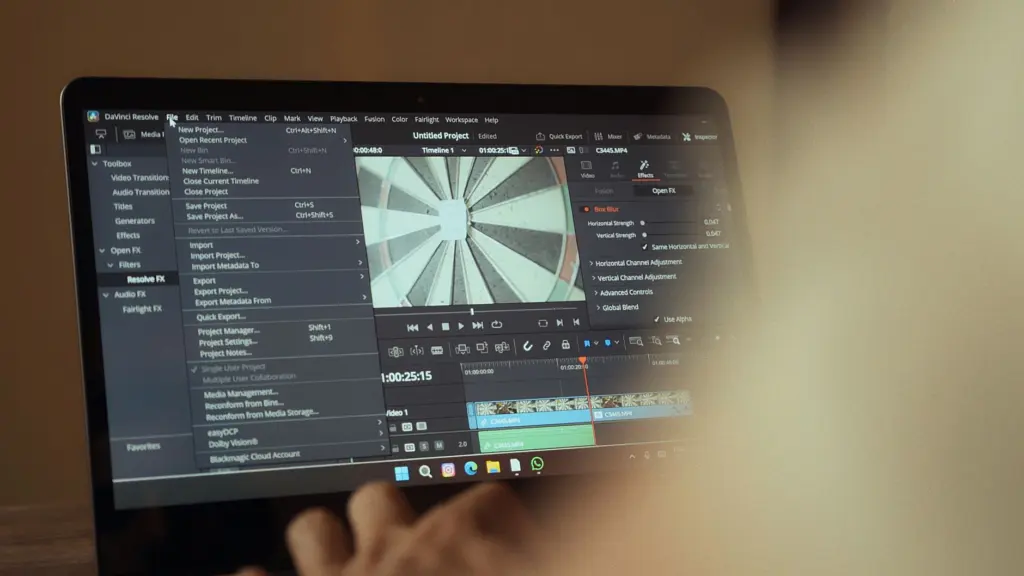
Move up to a fuller editor only when the quick route has a real limit. The usual limits are a watermark, an upload size cap or the need to layer audio and text.
Watermarks and upload size
Clideo confirms its MP3 to Video Converter offers free conversion with a small watermark. Its premium tier adds larger file upload options. If the watermark is acceptable for a casual share, you do not need to pay. If you post publicly or need to upload a large file, a paid tier or a different tool is the next step.
Free desktop options
You do not need a paid app for the job. EchoWave runs free in the browser with no account. iMovie is described as a free video editor for macOS, and VLC is a free, open-source media player that also offers basic conversion features. Choose iMovie on a Mac when you want a timeline for voice-overs and text. Choose VLC only for a basic conversion.
Stopping point
Stop climbing once the video plays correctly, carries the whole recording and fits the platform. A fuller editor adds options, but a photo with one audio track rarely needs them.
Check the result and share it
Play the exported file once from start to finish before you send it. Use this checklist.
- Listen to the end. The audio should finish while the photo is still on screen.
- Look at the framing. The ratio should show the whole subject without awkward bars or cropping.
- Check the file type. It should be MP4 unless the platform asks otherwise.
- Check for a watermark. If one appears and you did not want it, re-export with another tool.
The finished MP4 plays like any other video in a phone’s gallery. For the sending step, including platform choices, see how to share photos with sound.
Frequently asked questions
What format should I export for sharing?
Export an MP4. Clideo recommends MP4 and MOV for most social media platforms, and EchoWave’s MP4 output uses H.264 video with AAC audio.
Do I need a paid app to do this?
No. EchoWave needs no account or install, Clideo converts free with a small watermark, and iMovie is a free editor on macOS. Pay only if you want to remove the watermark or upload larger files.
Can I add music and my voice together?
Yes, in an editor that supports voice-overs. Clideo’s editor lists voice-overs, text overlays and stickers. A single-file converter takes one audio file, so choose either the song or the recording there.
Why is my video slow to export?
Render time grows with the length of the file. EchoWave notes that longer files take longer, and a still image renders faster than a busy waveform. Trim the audio to the part you need.